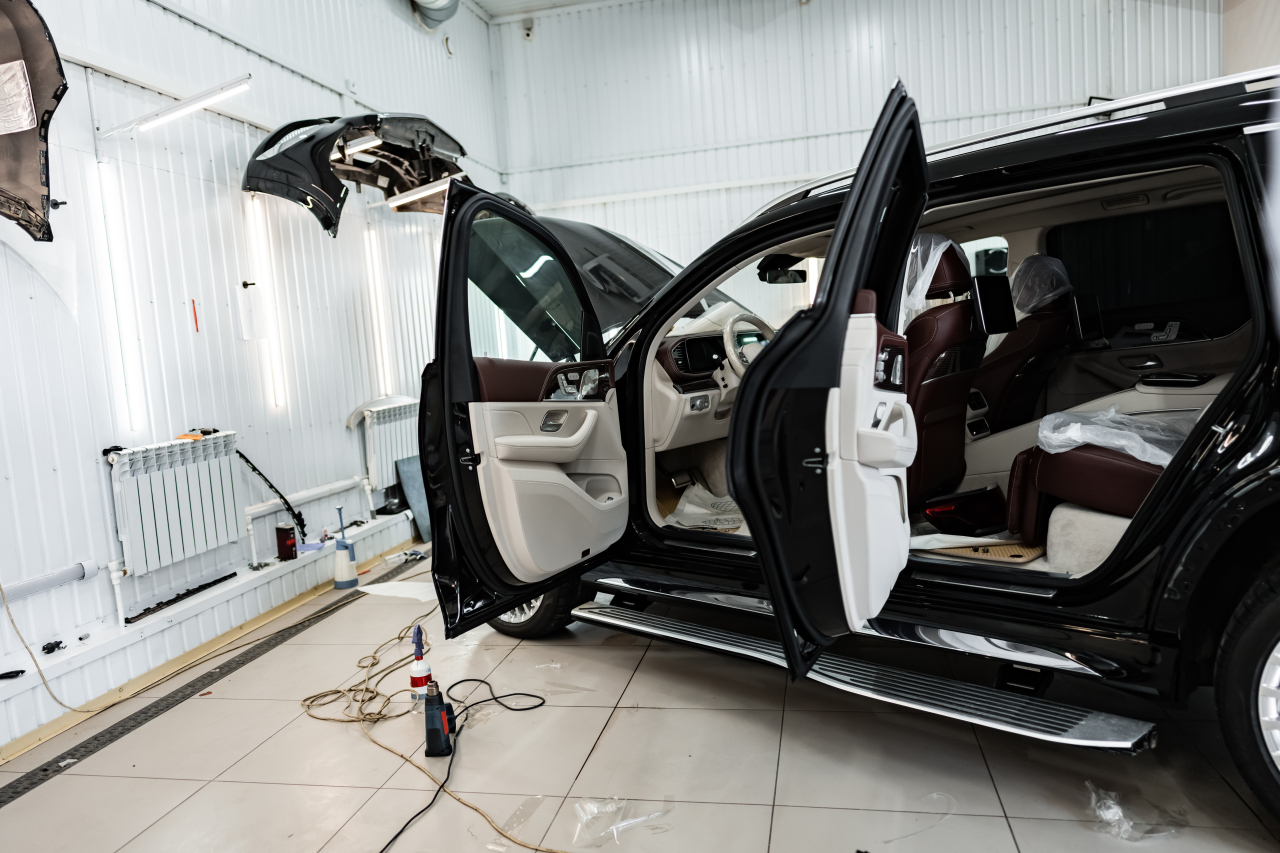
When it comes to Honda Odyssey sliding door repair the ‘easy’ way, understanding the mechanism and common issues is crucial. This comprehensive guide will provide you with the knowledge and tools needed to tackle sliding door repairs with confidence. From understanding the sliding door mechanism to addressing common issues and providing step-by-step repair guides, this article will be your go-to resource for all things related to Honda Odyssey sliding door repair.
Understanding the Honda Odyssey Sliding Door Mechanism
The Honda Odyssey sliding door mechanism is a complex system that allows for smooth and convenient operation of the vehicle’s side doors. To better understand how to repair and maintain these doors, it’s essential to know the components involved and their functions.
The role of the power sliding door in a Honda Odyssey
The power sliding door is a key feature in the Honda Odyssey, providing easy access to the vehicle’s interior. This system relies on a combination of electrical and mechanical components, including a motor, cable assembly, and door rollers. When the door is activated, the motor pulls the cable, which in turn moves the door along the track. The rollers ensure smooth movement and proper alignment of the door. Power sliding door repair often involves addressing issues with these components, such as a malfunctioning motor or a damaged cable assembly.
How the passenger sliding door operates
Similar to the power sliding door, the passenger sliding door in a Honda Odyssey relies on a combination of electrical and mechanical components for its operation. The door is activated by a switch or remote control, which sends a signal to the motor. The motor then pulls the cable assembly, moving the door along the track. Common issues that may require passenger sliding door repair include a faulty switch, a damaged cable assembly, or worn-out rollers.
The importance of door alignment in the sliding door mechanism
Door alignment plays a crucial role in the proper functioning of the Honda Odyssey sliding door mechanism. Misaligned doors can cause excessive wear on the rollers, track, and other components, leading to premature failure and the need for repair. To maintain proper door alignment, it’s essential to regularly inspect the door’s components for signs of wear or damage and to lubricate the track and rollers as needed. Additionally, adjustments to the door’s position may be necessary to ensure smooth operation and prevent further issues.
Common Issues with Honda Odyssey Sliding Doors
When it comes to honda odyssey repair, one of the most common issues owners face is related to the sliding doors. In this section, we will discuss some of the most common problems with Honda Odyssey sliding doors and provide a brief description of each issue.
Identifying a broken sliding door: Common symptoms
Before diving into the process of fixing broken sliding door, it’s essential to identify the symptoms indicating a problem. Some common signs of a broken sliding door in a Honda Odyssey include:
- Difficulty opening or closing the door
- Unusual noises during operation
- Door not staying open or closed
- Door not aligning properly with the body of the vehicle
Once you’ve identified these symptoms, you can proceed with the necessary steps to fix the broken sliding door.
The sliding door cable snap: Causes and effects
A common issue with Honda Odyssey sliding doors is the sliding door cable snap. The cable is responsible for pulling the door along the track, and when it snaps, the door will no longer function properly. Causes of cable snapping issue can include wear and tear, corrosion, or damage from debris.
When the cable snaps, the door may become stuck in either the open or closed position, making it difficult to access the vehicle’s interior. To prevent and fix this issue, it’s essential to regularly inspect the cable for signs of wear or damage and replace it as needed.
Issues with the door roller assembly and lower roller
Another common problem with Honda Odyssey sliding doors is related to the door roller assembly and lower roller. These components are responsible for ensuring smooth movement and proper alignment of the door. Issues with the door roller assembly and lower roller can lead to:
- Difficulty opening or closing the door
- Unusual noises during operation
- Door not staying open or closed
- Door not aligning properly with the body of the vehicle
To fix these issues, it’s essential to inspect the door roller assembly and lower roller for signs of wear or damage and replace them as needed. Lubricating the rollers and track can also help prevent future problems and ensure smooth operation of the sliding door.
Step-by-step Guide to Honda Odyssey Sliding Door Repair
In this section, we will provide a comprehensive sliding door repair guide for your Honda Odyssey, covering various aspects of the repair process. Follow these step-by-step instructions to ensure a successful repair.
Sliding door repair guide: Fixing a broken sliding door
Before you start fixing a broken sliding door, make sure you have the necessary tools and materials, such as a socket wrench, screwdriver, and replacement parts. Follow these steps to fix the broken sliding door:
- Disconnect the battery to ensure safety during the repair process.
- Remove the interior door panel by unscrewing and unclipping it from the door frame.
- Inspect the door components, such as the cable, rollers, and track, for signs of wear or damage.
- Replace or repair any damaged components as needed.
- Reassemble the door panel and reconnect the battery.
- Test the door’s operation to ensure the repair was successful.
How to replace a sliding door cable effectively
When it comes to sliding door cable replacement, follow these detailed instructions to ensure an effective repair:
- Disconnect the battery and remove the interior door panel as described in the previous section.
- Locate the sliding door cable and carefully disconnect it from the door motor and roller assembly.
- Remove the old cable from the door track and roller assembly.
- Thread the new cable through the door track and connect it to the door motor and roller assembly.
- Adjust the cable tension as needed to ensure smooth operation of the door.
- Reassemble the door panel and reconnect the battery.
- Test the door’s operation to ensure the sliding door cable replacement was successful.
Door rollers replacement: A detailed walkthrough
For a successful door rollers replacement, follow these step-by-step instructions:
- Disconnect the battery and remove the interior door panel as described earlier.
- Locate the door rollers and carefully remove them from the door track and roller assembly.
- Inspect the rollers for signs of wear or damage and replace them with new ones if necessary.
- Install the new rollers into the door track and roller assembly, ensuring they are properly aligned and seated.
- Reassemble the door panel and reconnect the battery.
- Test the door’s operation to ensure the door rollers replacement was successful.
Addressing the cable snapping issue: A practical approach
To prevent and address the cable snapping issue, follow these practical tips:
- Regularly inspect the sliding door cable for signs of wear, corrosion, or damage.
- Replace the cable as needed to prevent it from snapping and causing further issues.
- Keep the door track and rollers clean and free of debris to reduce the risk of cable damage.
- Lubricate the cable and other moving parts to ensure smooth operation and reduce wear and tear.
By following these tips, you can effectively address the cable snapping issue and ensure the longevity of your Honda Odyssey’s sliding door.
Advanced Repair Techniques for Honda Odyssey Sliding Doors
In this section, we will delve into advanced repair techniques for Honda Odyssey sliding doors, providing a detailed explanation of each technique. These methods will help you address more complex issues and ensure the longevity of your sliding door system.
Sliding door motor replacement: A comprehensive guide
One advanced repair technique involves sliding door motor replacement. The motor is responsible for powering the door’s movement, and a faulty motor can lead to various issues. Follow this comprehensive guide to replace the sliding door motor effectively:
- Disconnect the battery and remove the interior door panel as described in the previous sections.
- Locate the sliding door motor, which is typically mounted near the door track.
- Disconnect the wiring harness and any connectors attached to the motor.
- Remove the mounting bolts securing the motor to the door frame and carefully remove the motor.
- Install the new motor by aligning it with the mounting holes and securing it with the bolts.
- Reconnect the wiring harness and any connectors.
- Reassemble the door panel and reconnect the battery.
- Test the door’s operation to ensure the sliding door motor replacement was successful.
Lubricating the track for smoother operation
Lubricating the track is another advanced repair technique that can significantly improve the sliding door’s operation. Proper lubrication reduces friction, wear, and noise, ensuring a smoother and more reliable performance. Follow these instructions to lubricate the track effectively:
- Clean the track and rollers thoroughly, removing any debris, dirt, or old lubricant.
- Select a high-quality lubricant designed for sliding door systems, such as a silicone-based or white lithium grease.
- Apply the lubricant to the track, rollers, and any other moving parts, ensuring even coverage.
- Operate the door several times to distribute the lubricant evenly throughout the system.
- Wipe away any excess lubricant to prevent dirt buildup.
Regularly lubricating the track will help maintain the sliding door’s smooth operation and prolong its lifespan.
Sliding door fixture repair: Advanced methods
Lastly, let’s discuss advanced methods for sliding door fixture repair. These methods can help you address more complex issues and ensure a successful repair. Follow this step-by-step guide to implement these advanced repair techniques:
- Inspect the door alignment and adjust it as needed to ensure proper operation. Misaligned doors can cause excessive wear on the track, rollers, and other components.
- Check the door’s weatherstripping for damage or wear, as this can affect the door’s sealing and insulation. Replace the weatherstripping if necessary.
- Examine the door’s electronic components, such as sensors and switches, for any signs of malfunction. Replace or repair these components as needed to restore the door’s functionality.
- Inspect the door’s hinges and other hardware for wear or damage. Tighten or replace any loose or damaged components to ensure the door’s stability and smooth operation.
By implementing these advanced sliding door fixture repair methods, you can effectively address complex issues and maintain the optimal performance of your Honda Odyssey’s sliding door system.
Visual Aids for Honda Odyssey Sliding Door Repair
Visual aids can significantly enhance the learning process when it comes to Honda Odyssey sliding door repair. In this section, we will discuss the benefits of using a sliding door repair video and introduce a visual guide for Honda Odyssey door roller replacement.
Utilizing a sliding door repair video for better understanding
A sliding door repair video can be an invaluable resource for both beginners and advanced users. These videos provide step-by-step instructions, allowing you to see the repair process in action and gain a better understanding of the techniques involved. Here are some tips on how to use these videos effectively:
- Choose a video that specifically covers Honda Odyssey sliding door repair to ensure the information is relevant and accurate.
- Watch the video in its entirety before attempting the repair to familiarize yourself with the process and tools required.
- Pause the video at each step and follow along with the repair, ensuring you fully understand each action before moving on to the next.
- Re-watch any sections that are unclear or require further clarification.
- Use the video as a reference during the repair process, rewinding and re-watching as needed.
By utilizing a sliding door repair video, you can gain a comprehensive understanding of the repair process and increase your chances of a successful repair.
Visual guide to Honda Odyssey door roller replacement
Another useful visual aid is a guide specifically designed for Honda Odyssey door roller replacement. This guide can help you effectively replace the door roller, a crucial component in the sliding door mechanism. Here’s how to use this visual guide effectively:
- Ensure the guide is specifically tailored to Honda Odyssey door roller replacement to guarantee accurate and relevant information.
- Study the guide thoroughly, paying close attention to the diagrams and illustrations provided.
- Follow the step-by-step instructions, referring back to the guide as needed throughout the repair process.
- Take note of any warnings or precautions mentioned in the guide to avoid potential damage or injury.
By using a visual guide for Honda Odyssey door roller replacement, you can confidently tackle this repair with a clear understanding of the process and techniques involved.